

Find the best streaming gear for cam models in 2025. Learn low-latency cam setup tips, lighting, audio, and studio essentials for a pro live show.

Quick Take
- You don’t need a studio—good lighting + clear audio + stable internet beat expensive cameras.
- For a low-latency cam setup, prioritize wired ethernet, hardware encoding (NVENC/Quick Sync/AMF), and tight OBS settings.
- Start with starter gear, then upgrade pieces that most improve clarity, color, and sound.
New to camming? Start here first: How to Become a Cam Model
What Actually Matters for a Low-Latency Cam Setup
- Network first: wired ethernet > strong Wi-Fi. Keep at least 2–3× headroom above your streaming bitrate.
- Encoder choice: use GPU hardware encoding (NVENC/Quick Sync/AMF) for smooth streams with lower CPU load.
- Resolution/bitrate sanity:
- 720p30 → 2,000–3,500 kbps
- 1080p30 → 3,500–6,000 kbps
- Audio: AAC 128 kbps, 48 kHz
- Lighting beats lens: even a modest webcam looks premium under soft, high-CRI lights.
- Audio clarity: a dynamic mic reduces room noise and instantly sounds more professional.
2025 Gear Paths (Good / Better / Best)
1) Camera & Capture
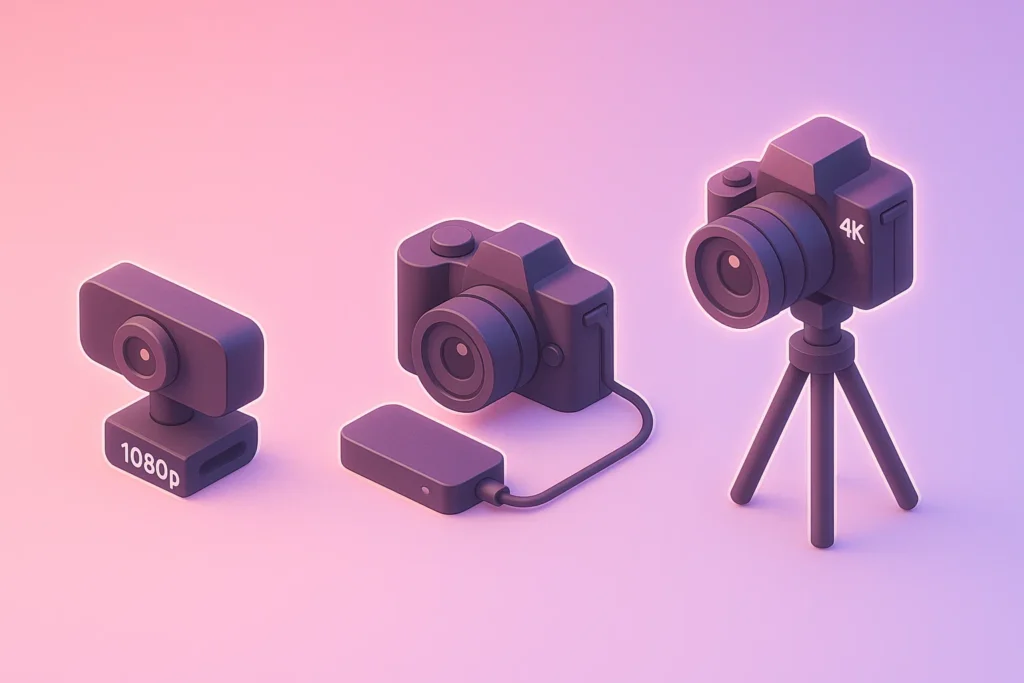
- Good (webcam route): 1080p60 webcam with manual controls (exposure, white balance, focus).
- Better (clean HDMI): entry mirrorless/DSLR + USB 3.0 UVC capture card (1080p60).
- Best (4K downscale): 4K mirrorless (clean HDMI) → quality capture device; downscale to 1080p for a crisp look.
Pro setup notes
- Use 24–35mm equivalent focal length for flattering framing in small rooms.
- Set shutter ~1/60, fixed white balance (no auto shifts), continuous AF (face/eye).
- Avoid flicker: match your cam’s anti-flicker to local mains (50/60 Hz).
2) Microphone & Audio
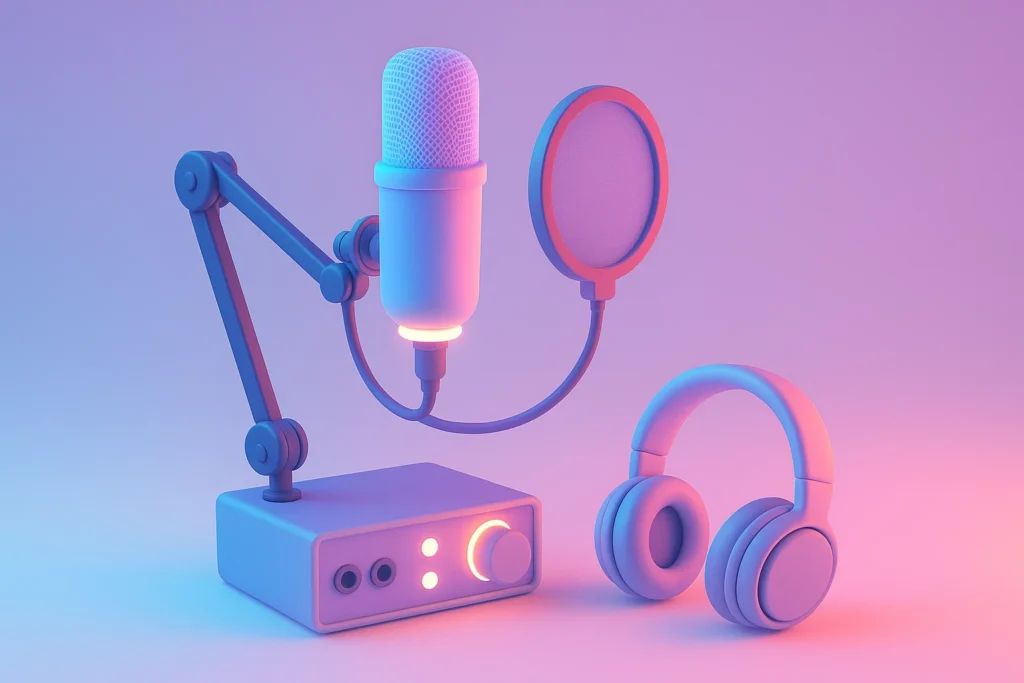
- Good: solid USB dynamic mic + pop filter.
- Better: XLR dynamic mic + simple USB audio interface.
- Best: XLR dynamic + interface with built-in DSP (gate, EQ, compressor).
Audio tips
- Position mic 15–20 cm from mouth, slightly off-axis; engage a high-pass filter (~80 Hz); keep room quiet (soft furnishings absorb echo).
3) Lighting (High Impact, Low Cost)
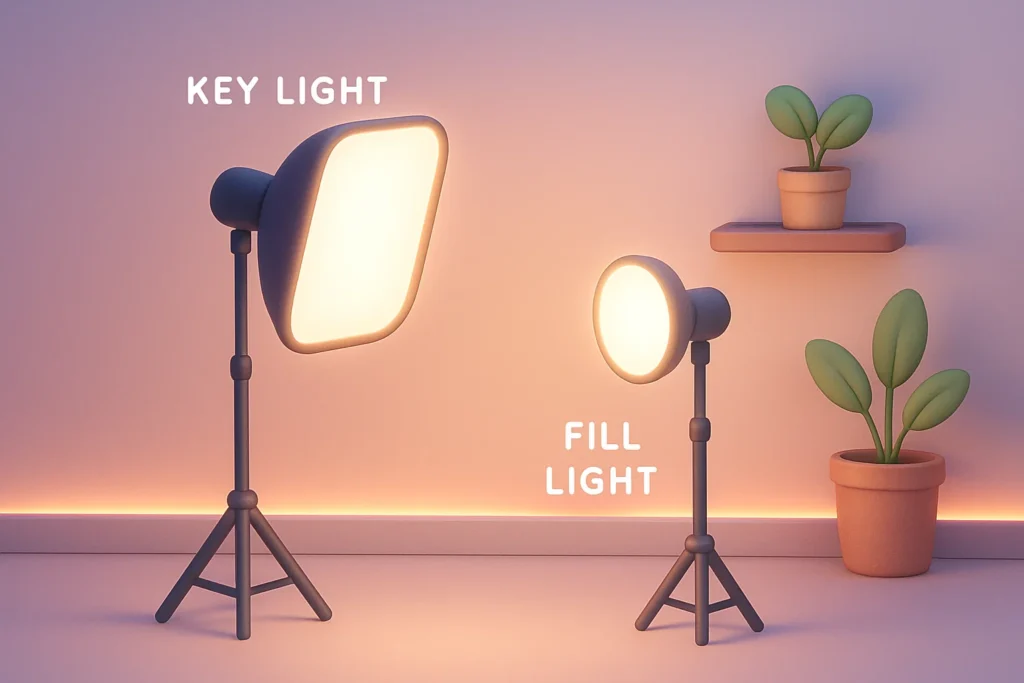
- Good: single soft key light (dimmable, CRI ≥95, 3200–5600K).
- Better: two soft panels (key + fill) + tiny backlight/hair light.
- Best: key + fill + hair with softboxes; add an RGB accent for mood.
Lighting tips
- Place key at 45° to your face, slightly above eye level.
- Avoid harsh ring-light glare; use diffusion (softbox or umbrella).
- Keep background tidy & on-brand (cozy throws, plants, LEDs).
4) Computer & Encoding
- Good: modern 4–6-core CPU, 16 GB RAM, integrated or entry GPU with hardware encoder.
- Better: 6–8-core CPU, 32 GB RAM, mid-tier GPU (recent NVENC/AMF/Quick Sync).
- Best: 8–12-core CPU, 32–64 GB RAM, strong GPU for multi-scene overlays.
5) Network & Power

- Ethernet over Wi-Fi. If Wi-Fi is the only option: 5 GHz band, strong signal, minimal interference.
- Router: enable QoS for your streaming PC; close background cloud sync.
- UPS (battery backup) prevents sudden shutdowns during shows.
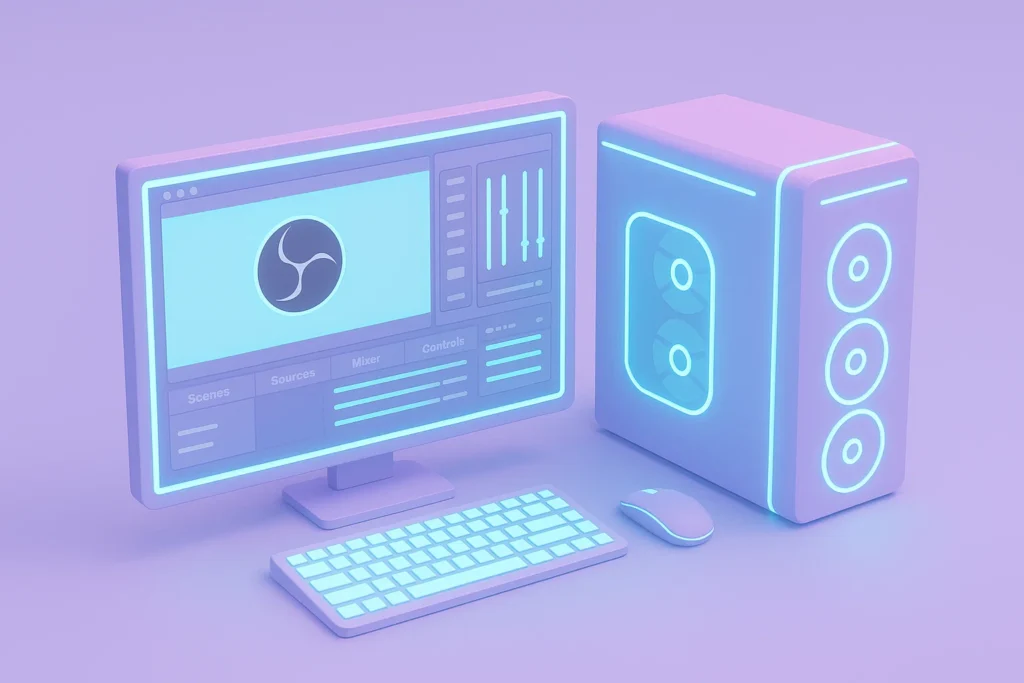
“Low-Latency” OBS Studio Settings (Baseline)
- Output → Encoder: NVENC / Quick Sync / AMF (hardware).
- Rate control: CBR; Bitrate per the table above; Keyframe 2 s.
- Preset/Tuning: Low-latency presets if available; B-frames 2 (try 0–2 if the site recommends).
- Audio: 48 kHz, AAC 128 kbps, mono or stereo as preferred.
- Video: 1080p30 or 720p30 (start 30 fps for stability; go 60 fps only if you maintain headroom).
- Scenes: Keep filters minimal (heavy filters add delay). Use hotkeys for fast scene switches.
3 Budgets, 1 Shopping List
Starter (plug-and-play, under a modest budget)
- 1080p60 webcam with manual controls
- USB dynamic mic + boom arm + pop filter
- One soft LED panel (CRI ≥95) + small RGB lamp
- Ethernet cable (or high-quality Wi-Fi adapter)
- Basic acoustic treatment (rug, curtains, foam on first reflections)
Creator (balanced, upgradable)
- Mirrorless cam with clean HDMI + USB 3.0 capture card
- XLR dynamic mic + compact audio interface
- Two-light kit (key + fill) + hair light
- 6–8-core CPU, 32 GB RAM, mid-tier GPU
- UPS + cable management (Velcro ties, channels)
Pro (polished 1080p/4K look)
- 4K mirrorless (clean HDMI) + quality capture device
- Broadcast-grade XLR mic + interface with DSP
- 3-point lighting + practical background accents
- 8–12-core CPU, strong GPU, dual monitors
- Router with QoS + dedicated VLAN/WAN for streaming
Room & Comfort Upgrades (Quietly Boost Quality)
- Acoustics: throw blanket, rug, curtains, small panels behind camera.
- Framing: sit ~1–1.5 m from camera; eye-level lens; slight downward tilt.
- Background: a few consistent brand elements (colors, textures).
- Smart plugs: quick scene changes (turn accent lights on/off).
- Cable labels: color-code HDMI/USB; fewer mid-show panics.
15-Minute Pre-Show Checklist
- Reboot PC/router if you had issues last stream.
- Plug in ethernet, close heavy apps/sync.
- White-balance and lock exposure on camera.
- Mic check: gain, HPF on, monitor levels.
- Lights on; key at 45°, fill subtle, hair light soft.
- OBS: correct scene collection, bitrate, keyframe 2 s.
- Test 60-second private stream or preview; verify audio sync.
- Water nearby, phone on silent, posture check—go live.
How to Upgrade Without Overspending
- Upgrade in this order: Lighting → Audio → Camera → GPU/CPU.
- Keep bitrate headroom; no amount of gear fixes a saturated uplink.
- Reuse pieces: boom arm, interface, lights survive multiple camera upgrades.
Example Setups (What Viewers Actually Notice)
- “Wow, you look clear today!” = better lighting + fixed white balance.
- “I can hear you perfectly.” = dynamic mic, closer placement, HPF.
- “Stream feels smoother.” = hardware encoder, sensible bitrate, ethernet.
Final Word
The best live cam gear is the gear you can run reliably every week. Aim for a low-latency cam setup with stable internet, hardware encoding, soft lighting, and a clean mic. Then upgrade piece-by-piece as your income grows.
Want instant discovery + live tips? Join Stripchat as a model (18+).
New to the career path? Read: How to Become a Cam Model
FAQs: Best Streaming Gear for Cam Models
Start with reliable lighting, a clear dynamic mic, and stable internet. Pair a 1080p60 webcam (or a mirrorless camera with a capture card) with hardware encoding and basic acoustic treatment for the biggest quality gains.
Use wired ethernet, hardware encoding (NVENC/Quick Sync/AMF), CBR with 2s keyframes, and sensible bitrates (2,000–3,500 kbps for 720p30; 3,500–6,000 kbps for 1080p30). Keep filters minimal and close background apps.
For stability, stream at 1080p30 or 720p30. Use CBR, 2s keyframe, B-frames 2, and AAC audio at 48 kHz/128 kbps. Choose a hardware encoder profile tuned for low latency and test your uplink headroom before going live.
A dynamic mic is ideal because it rejects room noise. A good USB dynamic is the easiest upgrade. XLR dynamics with a simple audio interface add headroom and onboard processing for cleaner, broadcast-style sound.
Yes. Soft, high-CRI lighting (key + fill, with optional hair light) makes even basic webcams look premium. Place the key at ~45° and slightly above eye level, use diffusion, and set a fixed white balance to avoid color shifts.
Ethernet wins for stability and lower latency. If Wi-Fi is unavoidable, use 5 GHz, keep line-of-sight, minimize interference, and maintain 2–3× bitrate headroom to prevent drops and buffering.
Upgrade in this order: lighting → microphone → network (ethernet/router QoS) → camera/capture → GPU/CPU. This sequence delivers the biggest on-screen gains per dollar.
Not required. 30 fps at a stable bitrate looks cleaner than unstable 60 fps. Use 60 fps only if you have consistent uplink headroom and your platform benefits from higher frame rates.