
If you’re stepping into cam work for the first time — whether you’re seriously thinking about streaming or just want to see what happens — your setup matters more than you think.
Yes, your personality and presence are everything. But how you look, how stable your feed is, and how clean your background is all shape your brand. And that helps you earn, retain, and level up.
This is your real starter kit for 2025 — affordable, practical, and built especially for new models who want to look great without going broke.
1. Why setup matters (and why you don’t need to spend a fortune)
People don’t just watch you — they watch your setup.
On Reddit’s r/CamGirlProblems, one model wrote:
“My camming improved greatly when I gave up on using natural light. I now use large ring lights in a room with no windows and it looks amazing.”
She wasn’t wrong. When your lighting is inconsistent, your image quality drops, your webcam struggles, you look less professional — and viewers drift away.
Here’s the good news: you don’t need ultra-expensive gear to look professional. Many guides for streaming content agree that lighting and layout matter more than an expensive camera.
So let’s build your starter setup — smart, real, budget-friendly.
2. Camera & audio basics: what to start with
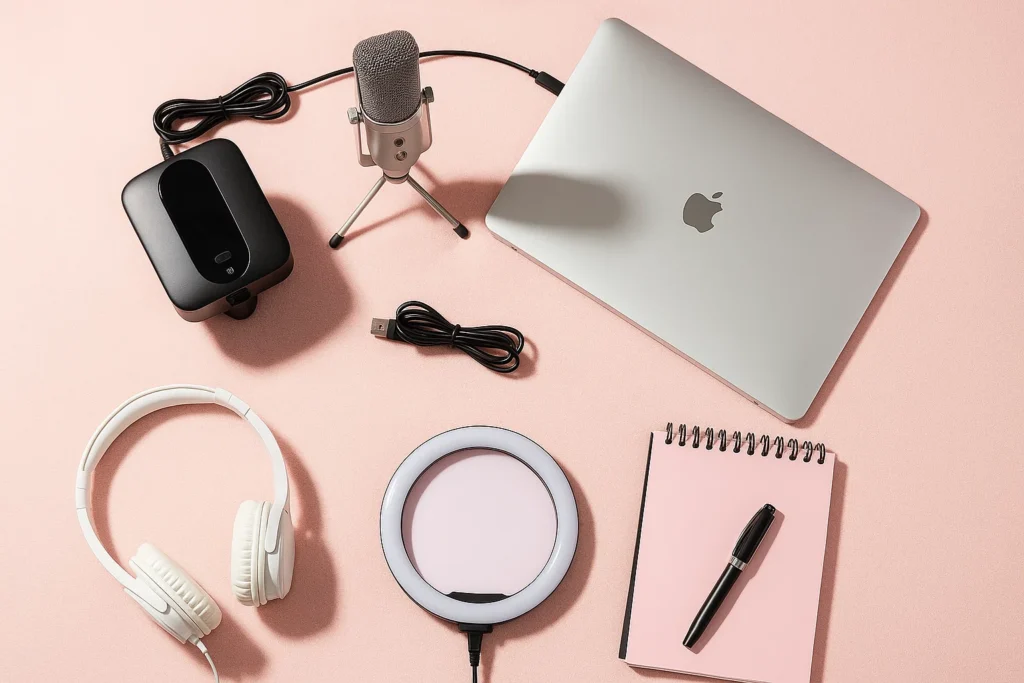
✅ Camera
Start with a 1080p external webcam (for example, Logitech C920/C922) — good quality at a reasonable price.
According to a Tom’s Hardware guide: “A higher resolution camera doesn’t automatically mean better picture quality… Make sure lighting and layout are solid first.”
Mount it at eye level. Position it straight ahead (not up your nose or too far back).
✅ Audio
A quiet, clear mic is essential. Your image might make the first impression, but your voice and clarity decide retention.
Use a separate mic if you can (USB condenser or dynamic mic), or at least push the built-in mic away from fan noise, traffic, or echo.
✅ Internet & background
Ensure your internet upload speed is stable (5 Mbps+ is a good minimum).
Choose a tidy, distraction-free background. Viewers don’t want to see chaotic piles behind you. A solid color, simple décor, and clean space win.
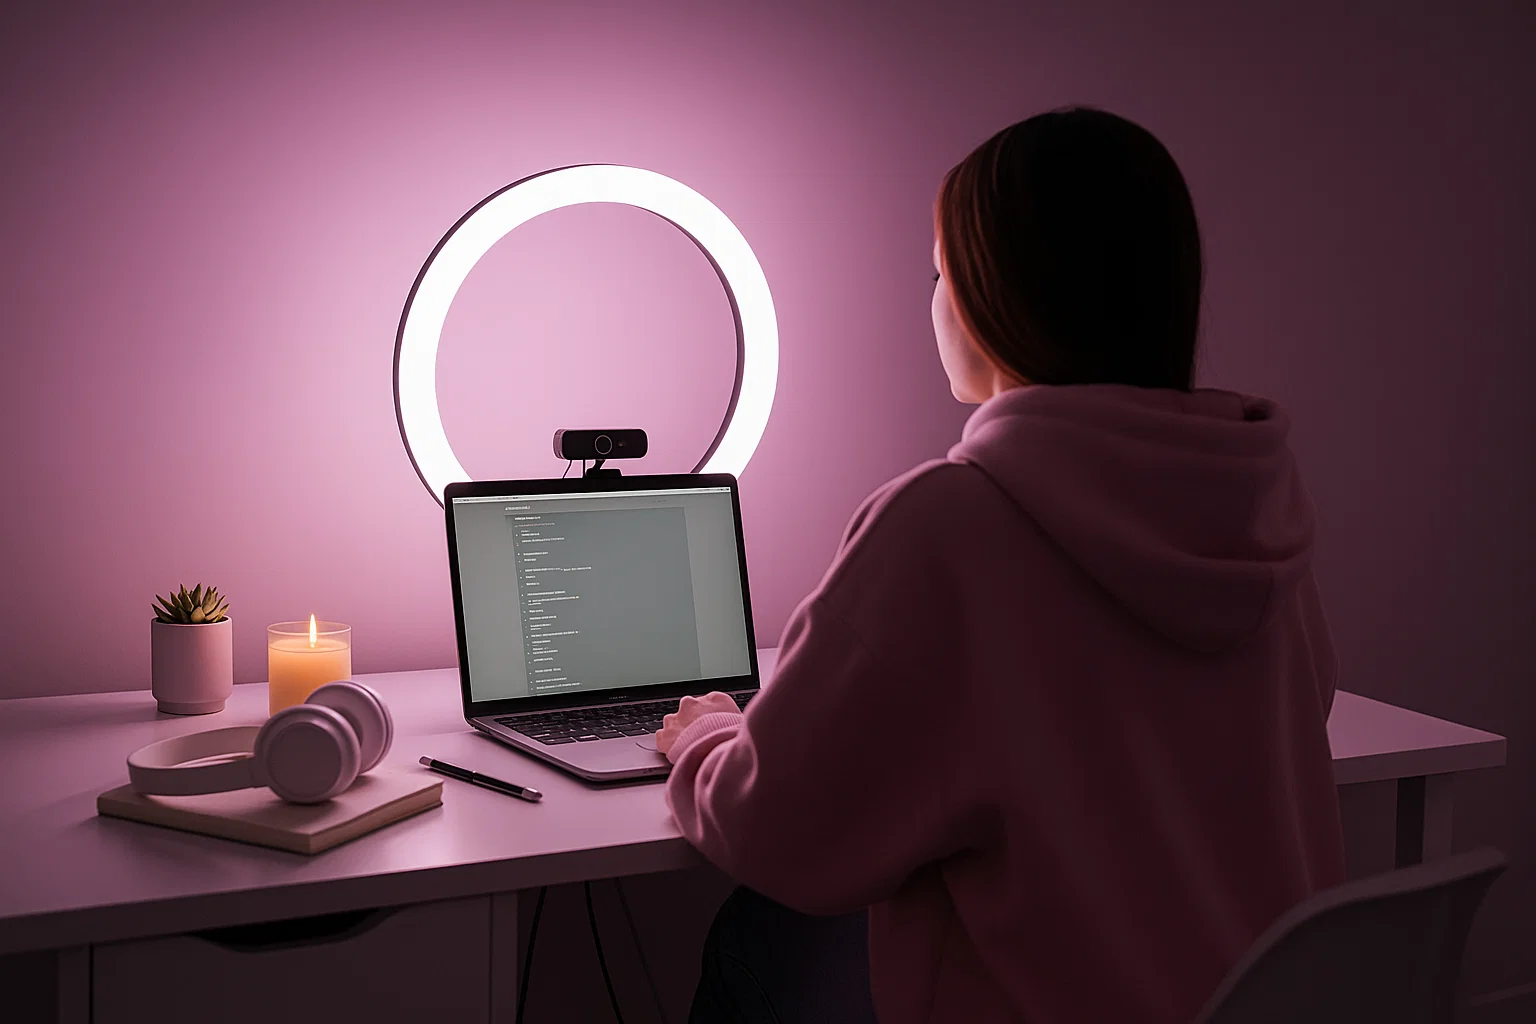
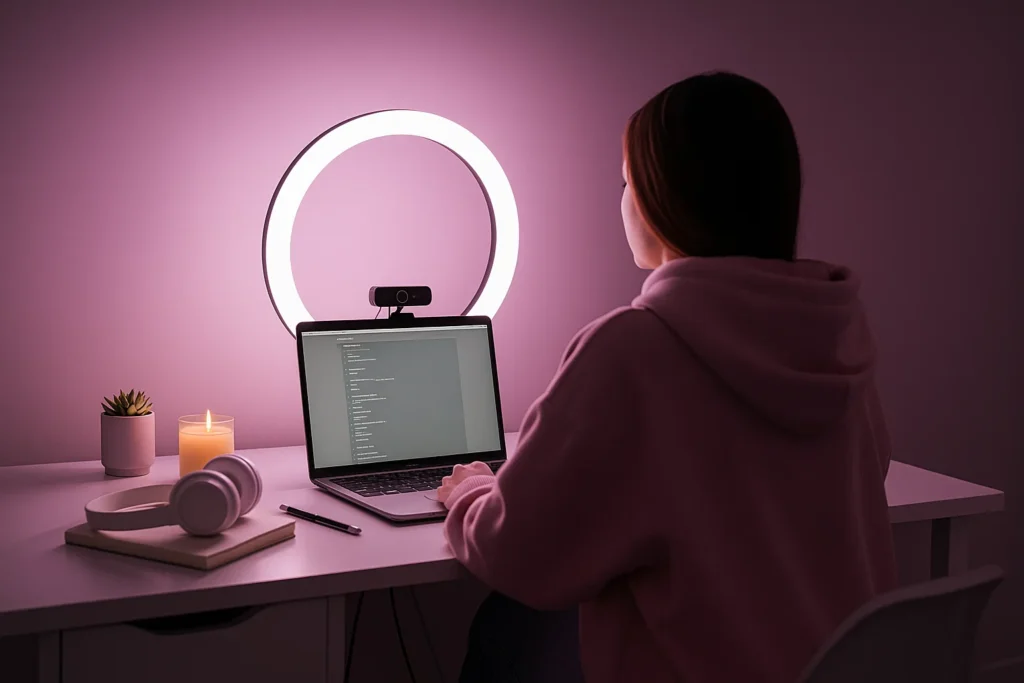
3. Lighting layout: the biggest “visible” upgrade
Reddit models consistently say lighting was the game-changer. For example:
“Idealsirensol … my never-fail old-reliable lighting setup? 3 of those $11 3-way lamps… Use the third lamp on the low-light setting as fill.”
Here’s a budget lighting plan:
🎯 Budget Tier: Under ~$200
Get one ring light (18-inch is good) or key LED panel (daylight balanced ~5000K).
Place it in front, slightly above eye level, angled down ~30°.
Close curtains so natural light doesn’t throw off your balance.
Add a fill light (cheap lamp with soft white bulb) to remove harsh shadows.
🎯 Mid Tier: ~$300-500
Key light: softbox or LED panel with adjustable color temperature.
Fill light: secondary LED or desk lamp with diffusion.
Back/hair light: small LED behind you to separate you from background.
Lighting bloggers recommend three-point lighting (key, fill, back) for depth and professionalism.
🔧 Lighting Tips You’ll Hear From Pros
Avoid mixed light sources (sun + bulbs) — colors clash, image quality drops.
Test your lighting before you go live.
Use daylight-balanced (~5000K-5600K) light if possible — cooler light tends to look sharper on camera.
4. Room layout & background control
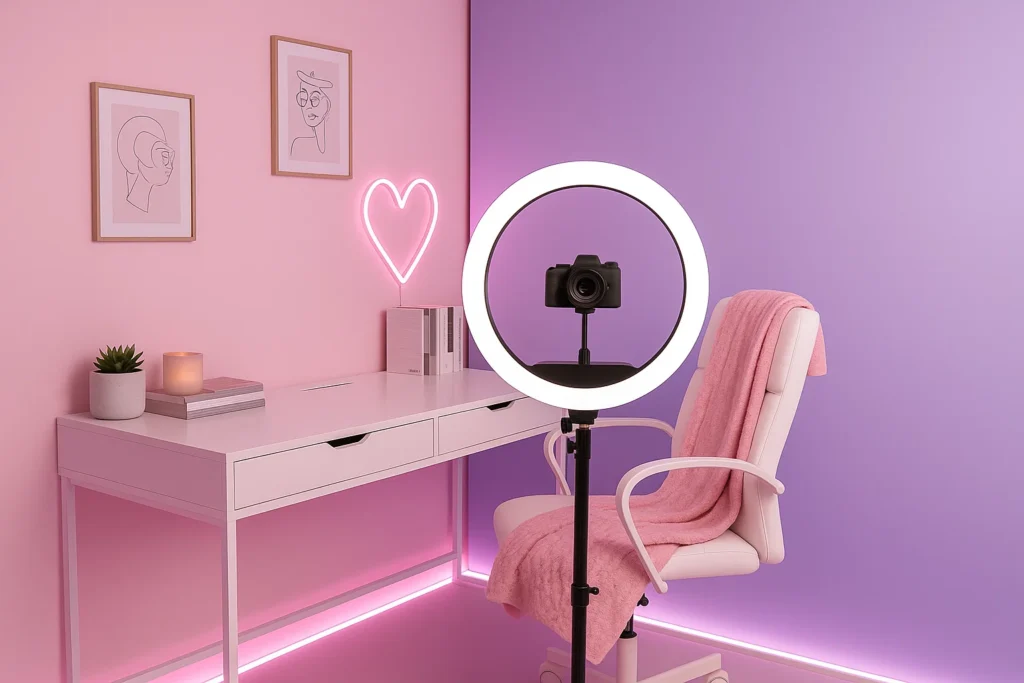
- You don’t need a full studio, but you do want control.
- Face your key light; don’t have windows behind you. Backlighting = silhouette.
- Keep clutter out of frame. A small shelf, plant, and tidy décor go a long way.
- Use a solid wall, plain curtain, or dedicated streaming corner.
- Avoid running lights in the background or flickering screens. It distracts.
- Sound matters: use thick curtains, rugs, or pillows to reduce echo if you can.
5. Budget gear checklist: What to buy & when to upgrade
Tier Gear Approximate Price
Starter 1080p webcam, one ring/LED, USB mic, tripod/laptop stand ~$150-$250
Intermediate Softbox or upgraded LED panel, fill light, better mic, tidy background ~$300-$500
Scale-up Full lighting kit, green screen or switcher, 4K camera (optional), high quality mic & interface $500+
Action Step: Start with the starter tier. When your revenue supports it, upgrade.
6. Pre-show checklist for every live room
7. Final thoughts & encouragement
Remember: Your tech doesn’t define you. You do. A clean, stable setup is just the foundation.
Your personality, connection, authenticity — that’s what builds your audience.
But a messy or dark setup hides your real self.
The research is clear: lighting, layout, and clarity make the first impression. Then your presence does the rest.
So if you’re just starting out: pick your camera, OWN your lighting, control your space, and stream from confidence.
Your setup should say: I’m serious. I’m professional. I’m here.
When you look like you belong, viewers respond differently.
And that’s when you start leveling up.
Ready to build?
Grab the starter checklist above, pick your gear, pick your time, and go live.
Your presence matters. The setup is just the power-source.
Let’s do this.